CSS Gradient Generator: A Comprehensive Guide
The CSS Gradient Generator is an incredibly useful application that simplifies the process of creating and managing CSS gradients. Let's take a closer look at its various features and how they can be utilized.
Introduction
Welcome to the world of CSS Gradient Generator. This application is designed to make the task of generating and manipulating CSS gradients a breeze. It consists of several main parts, each playing a crucial role in the overall functionality.
Gradient List
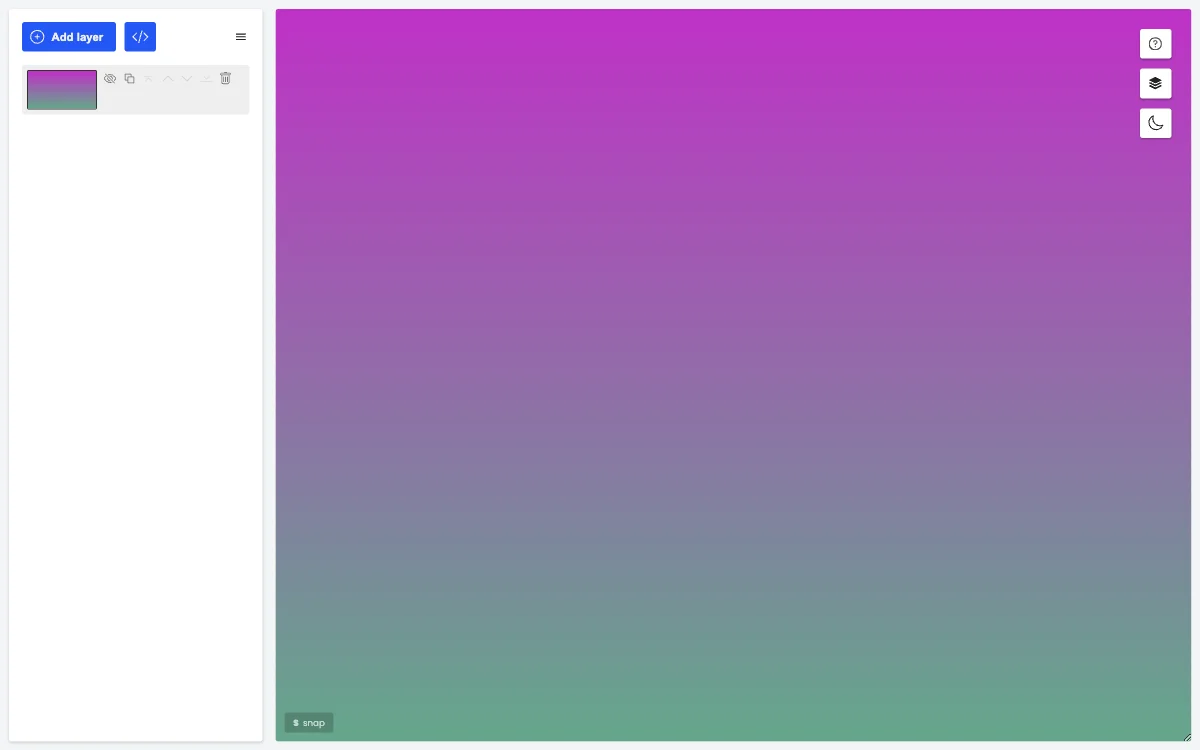
On the left side of the application, you'll find the layers list. If there's at least one layer in this list, you can download the final code by simply clicking on the relevant button. In this panel, you have the power to manage the order of the layers, delete them, or even turn off their visibility. It's important to note that if a layer is set to invisible, it won't be considered when generating the final code. When you click on a layer, a panel with settings will appear at the bottom of the application.
Layer Settings Panel
Once you click on a particular layer in the layers panel at the bottom of the screen, the settings panel will come into view. In the upper-left corner of this panel, there are buttons used to set the gradient type. Right next to them is a button that opens a panel with settings for a given gradient, such as size, repeatability, overall transparency, and blend mode, among others. You can change the values in the inputs in various ways, like typing, using the mouse wheel, or clicking on the field and dragging the cursor up or down.
Next to the title of this panel are icons. Clicking on one of them will bring up a menu that allows you to apply the settings of a given layer to other layers. You can also move the entire panel by grabbing its top edge. There's also a button nearby that opens a panel where you can automatically add points to the slider.
The main area of the panel is occupied by the gradient slider. If you double click on a given point of the slider, you'll add a new point to it. You can move points using the mouse or Arrow keys, and select multiple points with the Ctrl key. There are some buttons in the right corner just above the slider. These buttons enable you to select the next or previous point on the slider, cut the gradient for a selected point (which can be useful when you want to disable the smooth transition for selected points), set a solid color to the left or right side for selected points, and copy or paste the color from a selected point. You can perform all these actions with the appropriate keys, and it's advisable to check the keyboard tab in the help for more details.
Main Board
When you select a layer from the left panel, on the main board, you'll be able to set its focal point, the direction of the gradient, as well as the position of the gradient. These options are available depending on the type of the given gradient and its size. You can switch to other modes using the keys (Q, W, E) shown at the bottom of the board, or by using the mouse keys. By default, the left key is used to move the center point of the gradient, and the right key is used to rotate the gradient. Additionally, you can use the S key to enable or disable the grid and snap mode.
Library
The library is used to store the works that you save to it. To show it, just click on the relevant icon. Once you've added at least one layer to your work, you can save the entire current work to the library. When you click on an item in the library list, its layers will be added to your current work without removing any existing layers. You can continue working on your work and then save it to the library as a new element.
In the upper right corner of the library, there's a menu icon. In this menu, you have several options. The "manage the library" option allows you to add new groups, rename existing groups, or drag items between groups. The import and export options let you import selected elements from a file and export to a file. The last option in this menu enables you to open an online library, from which you can add elements created by other users. If you want to share your work, you can use an additional form that can be opened by clicking on the link in the text at the top of the online library panel.
In conclusion, the CSS Gradient Generator offers a wide range of features that make it a valuable tool for anyone working with CSS gradients. Whether you're a beginner or an experienced developer, this application can simplify your workflow and help you create stunning visual effects with ease.